This menu gives you the ability to control the record and replay functionality of the connected LabSat 4. You can also navigate through the file structure on the SSD in the connected LabSat 4 and rename or delete any of the present files.

This status indicator above the settings on the left-hand side of the window will display the status of your LabSat 4 so that you can see if it is currently idle, recording or replaying.
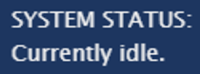
This status indicator above the settings on the left-hand side of the window will display the status of your LabSat 4 so that you can see if it is currently idle, recording or replaying.

This is where you configure how the unit replays a file.
Loop replay
Enable this option to have the file replay in a continuous loop.
Pause between loops:
Enable this option to add and define a pause duration before the loop restarts.
Start replay at:
Enable this option to start playback at a defined time in the scenario.
Replay for:
Enable this option to stop playback after a defined length of time.
Note: If the replay value is updated in the unit display menu, you must refresh the Web Server to ensure that the correct values are applied before you start the replay.
Model Limitations
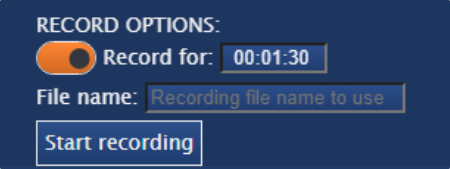
Record options are only displayed when connected to a LabSat 4 (RP) variant.
This gives you the ability to set a recording duration and enter the name of the file. Click on the Start recording button when you are ready to record.
The file will be recorded and saved to the current directory in the Record and Replay menu.
This gives you the ability to set a recording duration and enter the name of the file. Click on the Start recording button when you are ready to record.
The file will be recorded and saved to the current directory in the Record and Replay menu.

Model Limitations
The Current Directory will only be displayed when connected to a LabSat 4 (RP) variant.
This will provide the full file path of the accessed directory and will be available as long as you have subdirectories in the current directory.
You can return to a specific directory on the SSD by clicking on the required directory in the file path.

This will provide the full file path of the accessed directory and will be available as long as you have subdirectories in the current directory.
You can return to a specific directory on the SSD by clicking on the required directory in the file path.

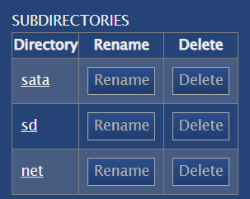
This table will display all subdirectories in the open directory. Click on a directory name to access the directory.
This table will display all subdirectories in the open directory. Click on a directory name to access the directory.

Click on the Create directory button to create a new directory on the internal SSD in the LabSat 4.

Click on the Create directory button to create a new directory on the internal SSD in the LabSat 4.

Model Limitations
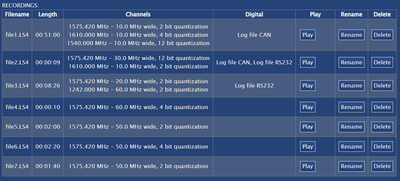
The Recordings section will only be displayed when connected to a LabSat 4 (RP) variant.
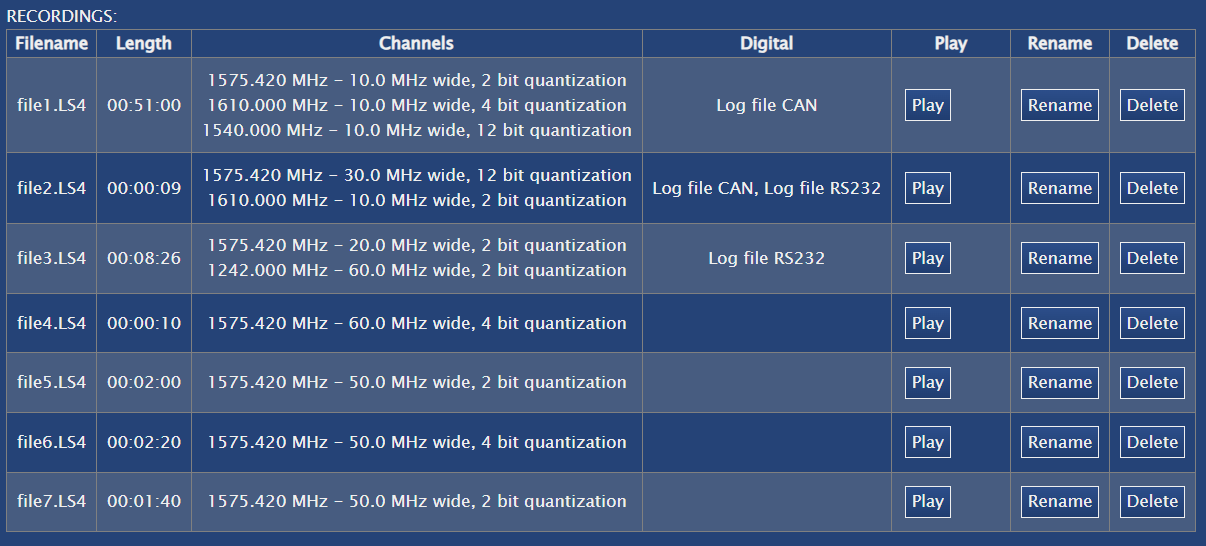
This is a list of recorded files in the current directory. The Web Server will display up to 256 files per directory.
Options to play, delete or rename files are also present in this list. Download links associated with each file allow you to view the settings used during the file recording, download the recording and view CAN data (if applicable).
Note: Some file/browser combinations require you to right-click and select Save as.