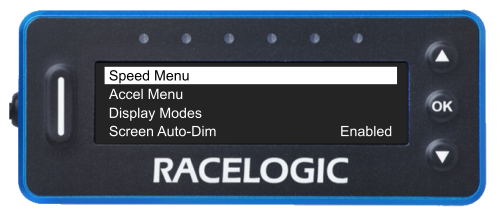
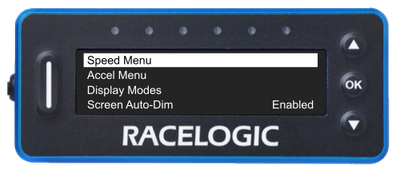
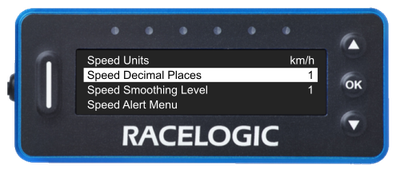
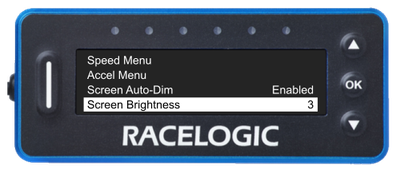
The Speed Menu contains settings for such as units, decimal places, smoothing level and speed alerts.
Press the OK button with this setting highlighted to enter the Speed Menu.
The Speed Menu contains settings for such as units, decimal places, smoothing level and speed alerts.
Press the OK button with this setting highlighted to enter the Speed Menu.
Press the OK button with this setting highlighted to cycle through the available speed units:
- mph
- km/h
- knots
The displayed option is the selected one. When you are happy with your selection, use the Down button to move to the next setting in this menu.

Press the OK button with this setting highlighted to cycle through the available speed units:
- mph
- km/h
- knots
The displayed option is the selected one. When you are happy with your selection, use the Down button to move to the next setting in this menu.
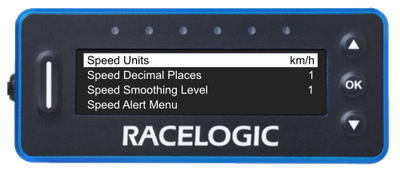
Press the OK button with this setting highlighted to cycle through the available number of decimal places on your unit:
- 0
- 1
- 2
The displayed option is the selected one. When you are happy with your selection, use the Down button to move to the next setting in this menu.

Press the OK button with this setting highlighted to cycle through the available number of decimal places on your unit:
- 0
- 1
- 2
The displayed option is the selected one. When you are happy with your selection, use the Down button to move to the next setting in this menu.
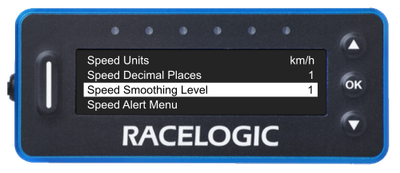
Press the OK button with this setting highlighted to cycle through the available number of smoothing levels on your unit:
- 0
- 1
- 2
- 3
- 4
- 5
The displayed option is the selected one. When you are happy with your selection, use the Down button to move to the next setting in this menu.

Press the OK button with this setting highlighted to cycle through the available number of smoothing levels on your unit:
- 0
- 1
- 2
- 3
- 4
- 5
The displayed option is the selected one. When you are happy with your selection, use the Down button to move to the next setting in this menu.
When enabled, Speed Alert will only operate when the LapTimer unit is set to Speed Mode. The Speed Alert Mode is set to disabled by default.
When you enable Speed Alert, your LapTimer will have solid red LEDs if it logs a higher speed than the set speed for the alert for longer than 1 second. The alert will stop when your logged speed goes below the set speed alert value.
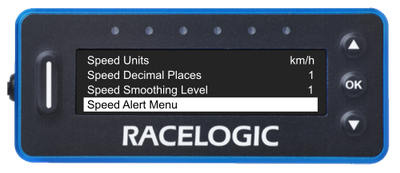
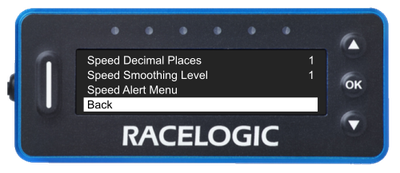
Press the OK button with this setting highlighted to open the Speed Alert Menu.

When enabled, Speed Alert will only operate when the LapTimer unit is set to Speed Mode. The Speed Alert Mode is set to disabled by default.
When you enable Speed Alert, your LapTimer will have solid red LEDs if it logs a higher speed than the set speed for the alert for longer than 1 second. The alert will stop when your logged speed goes below the set speed alert value.
Press the OK button with this setting highlighted to open the Speed Alert Menu.
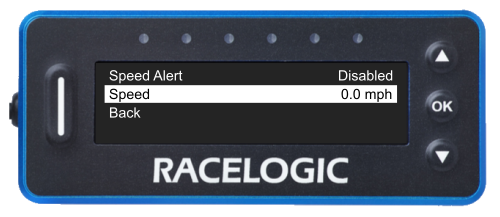
Press the OK button with this setting highlighted to toggle between Enabled and Disabled for the Speed Alert. The displayed mode is the selected mode. Move away from the setting to confirm it.

Press the OK button with this setting highlighted to toggle between Enabled and Disabled for the Speed Alert. The displayed mode is the selected mode. Move away from the setting to confirm it.
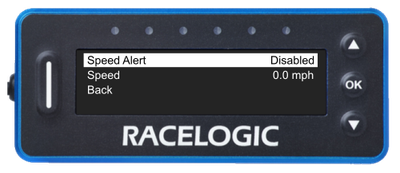
Press the OK button with this setting highlighted to enter the value screen. Use the Up and Down buttons to increase or decrease the speed for the Speed Alert to a value between 1 and 999 km/h.
Press the OK button to confirm the selected value and return to the Speed Alert Menu.
Press the OK button with this setting highlighted to enter the value screen. Use the Up and Down buttons to increase or decrease the speed for the Speed Alert to a value between 1 and 999 km/h.
Press the OK button to confirm the selected value and return to the Speed Alert Menu.

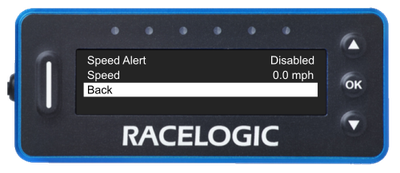
Press the OK button with this option highlighted to navigate back to the Speed Menu.

Press the OK button with this option highlighted to navigate back to the Speed Menu.
Press the OK button with this option highlighted to navigate back to the Display Menu.

Press the OK button with this option highlighted to navigate back to the Display Menu.
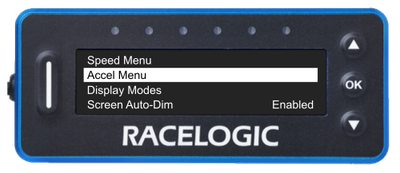
The Accel Menu contains settings such as decimal places and smoothing level for acceleration.
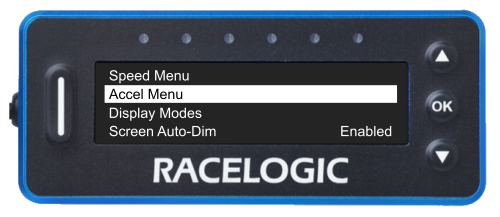
Press the OK button with this setting highlighted to enter the Accel Menu.
The Accel Menu contains settings such as decimal places and smoothing level for acceleration.
Press the OK button with this setting highlighted to enter the Accel Menu.
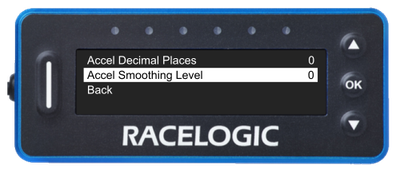
Press the OK button with this setting highlighted to cycle through the available number of accel decimal places on your unit:
- 0
- 1
- 2
The displayed option is the selected one. When you are happy with your selection, use the Down button to move to the next setting in this menu.

Press the OK button with this setting highlighted to cycle through the available number of accel decimal places on your unit:
- 0
- 1
- 2
The displayed option is the selected one. When you are happy with your selection, use the Down button to move to the next setting in this menu.
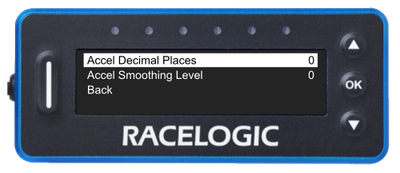
Press the OK button with this setting highlighted to cycle through the available number of accel smoothing levels on your unit:
- 0
- 1
- 2
- 3
- 4
- 5
The displayed option is the selected one. When you are happy with your selection, use the Down button to move to the next setting in this menu.

Press the OK button with this setting highlighted to cycle through the available number of accel smoothing levels on your unit:
- 0
- 1
- 2
- 3
- 4
- 5
The displayed option is the selected one. When you are happy with your selection, use the Down button to move to the next setting in this menu.
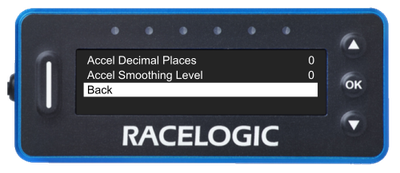
Press the OK button with this option highlighted to navigate back to the Display Menu.

Press the OK button with this option highlighted to navigate back to the Display Menu.
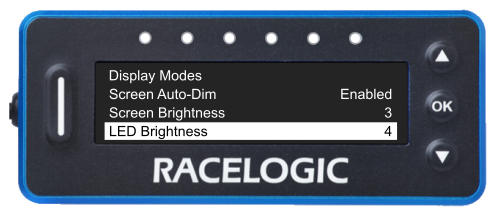
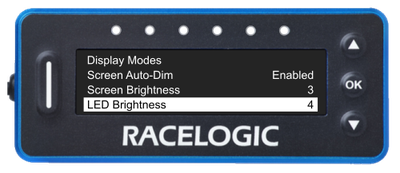
The Display Modes menu provides a method to manage which display modes are enabled or disabled. Only the enabled display modes will be available to cycle through on the screen.
By default, the enabled display modes are:
- Lap Timing
- Predictive Lap Timing
- Speed
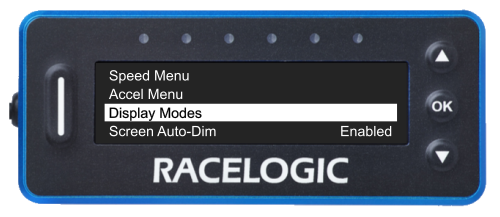
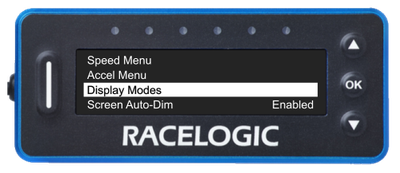
Press the OK button with Display Modes highlighted to open the menu.
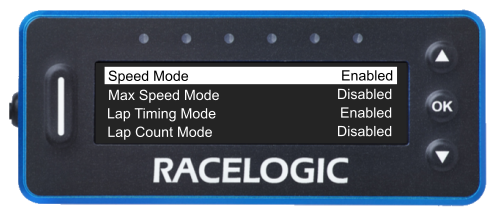
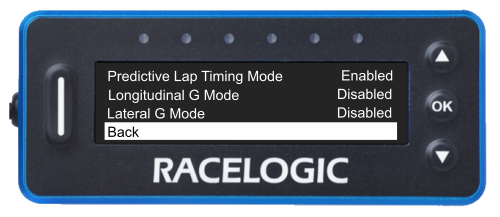
The menu contains a list of the available display modes with an Enabled/Disabled status for each option.
The available display modes are:
- Speed
- Max Speed
- Lap Timing
- Lap Count
- Predictive Lap Timing
- Longitudinal G
- Lateral G
Press the OK button with a display mode highlighted to change the status for it. Each button press will toggle between Enabled/Disabled.
When you have enabled the required display mode(s), use the Down arrow button to navigate to the Back option and press OK to return to the Display Menu.
The Display Modes menu provides a method to manage which display modes are enabled or disabled. Only the enabled display modes will be available to cycle through on the screen.
By default, the enabled display modes are:
- Lap Timing
- Predictive Lap Timing
- Speed
Press the OK button with Display Modes highlighted to open the menu.
The menu contains a list of the available display modes with an Enabled/Disabled status for each option.
The available display modes are:
- Speed
- Max Speed
- Lap Timing
- Lap Count
- Predictive Lap Timing
- Longitudinal G
- Lateral G
Press the OK button with a display mode highlighted to change the status for it. Each button press will toggle between Enabled/Disabled.
When you have enabled the required display mode(s), use the Down arrow button to navigate to the Back option and press OK to return to the Display Menu.
This setting is enabled by default. It gives you the ability to decide if the unit will dim the screen or not based on inactivity.
If the GNSS speed is less than 5 km/h for more than 5 seconds, the unit is not timing a pit stop, and there has been no user interaction for 60 seconds (button press or SD card event), the screen brightness will reduce to brightness setting 1. When the unit registers activity again, the screen brightness will go back to the level selected in the settings.
Press the OK button with this setting selected to toggle between Enabled and Disabled. The displayed mode is the selected mode. Move away from the setting to confirm it.

Press the OK button with this setting highlighted to cycle through the available screen brightness levels on your unit:
- 1
- 2
- 3
- 4
- 5
The unit will apply the screen brightness immediately.
The displayed option is the selected one. When you are happy with your selection, use the Down button to move to the next setting in this menu.
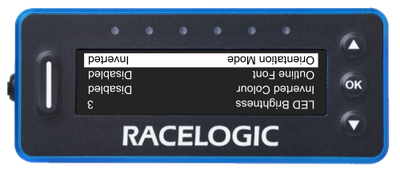
Press the OK button with this setting highlighted to cycle through the available LED brightness levels on your unit:
- 1
- 2
- 3
- 4
- 5
The unit will preview the LED brightness by lighting the LEDs white with the selected brightness level when you select a new level.
The displayed option is the selected one. When you are happy with your selection, use the Down button to move to the next setting in this menu.
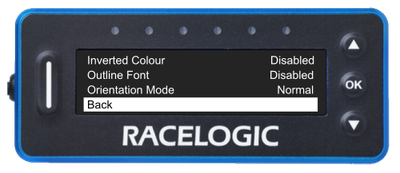
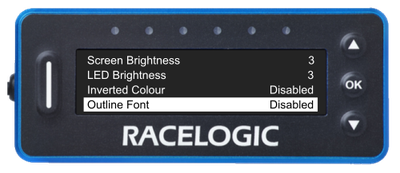
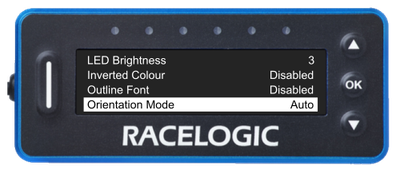
Press the OK button with this setting selected to toggle between Enabled and Disabled. The displayed mode is the selected mode. Move away from the setting to confirm it.
When this setting is enabled, the display will change from the default black background with white text to a white background with black text.


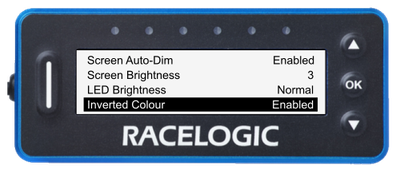
Press the OK button with this setting selected to toggle between Enabled and Disabled. The displayed mode is the selected mode. Move away from the setting to confirm it.
When this setting is enabled, the main font on the display will change from the default block colour to an outlined font.

Press the OK button with this setting selected to toggle between Enabled and Disabled. The displayed mode is the selected mode. Move away from the setting to confirm it.
When this setting is enabled, the main font on the display will change from the default block colour to an outlined font.


Press the OK button with this setting highlighted to cycle through the available screen orientation modes on your unit:
- Auto - The display orientation will automatically change depending on the detected position of the unit. When the unit detects a speed of more than 5 km/h, it will disable the feature to lock the screen orientation when the vehicle is moving.
- Normal - The screen content is displayed upright when the device is mounted in its standard or intended position.
- Inverted - The screen content is flipped 180 degrees from the normal orientation and is to be used when the unit must be mounted upside-down.
The unit will change the screen orientation immediately when you change the setting.
The displayed option is the selected one. When you are happy with your selection, use the Down button to move to the next setting in the menu.


Press the OK button with this option highlighted to navigate back to the Main Menu.

Press the OK button with this option highlighted to navigate back to the Main Menu.